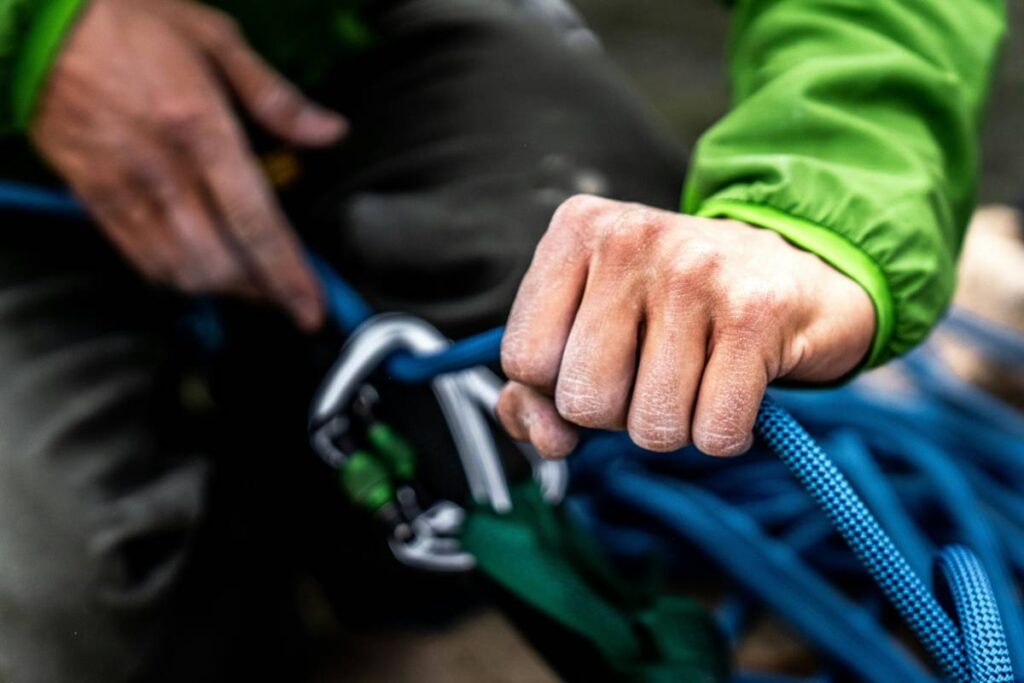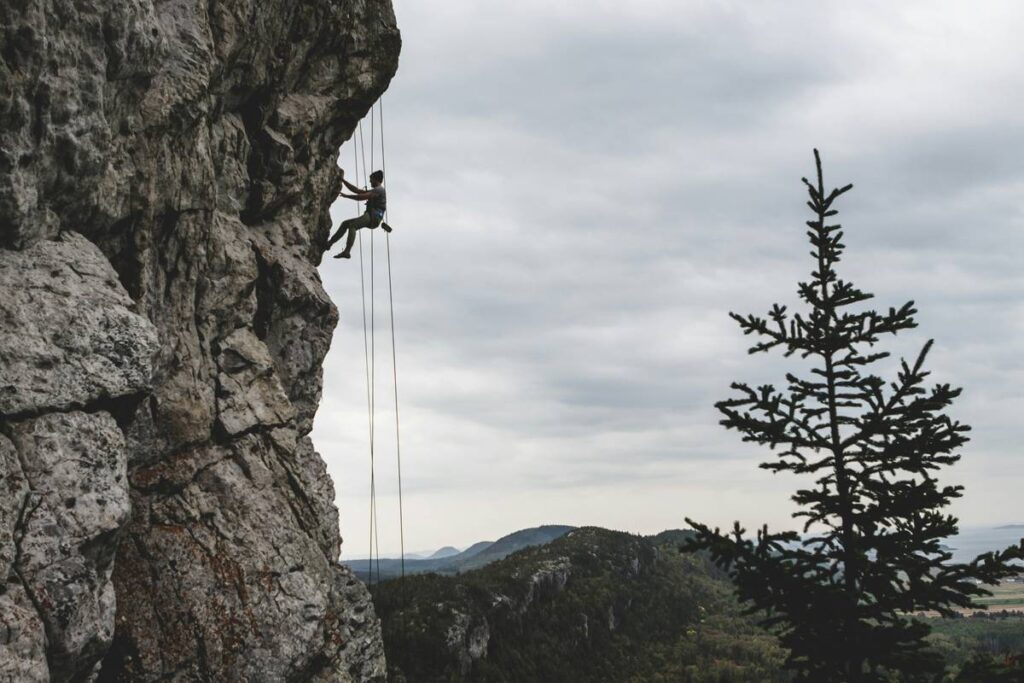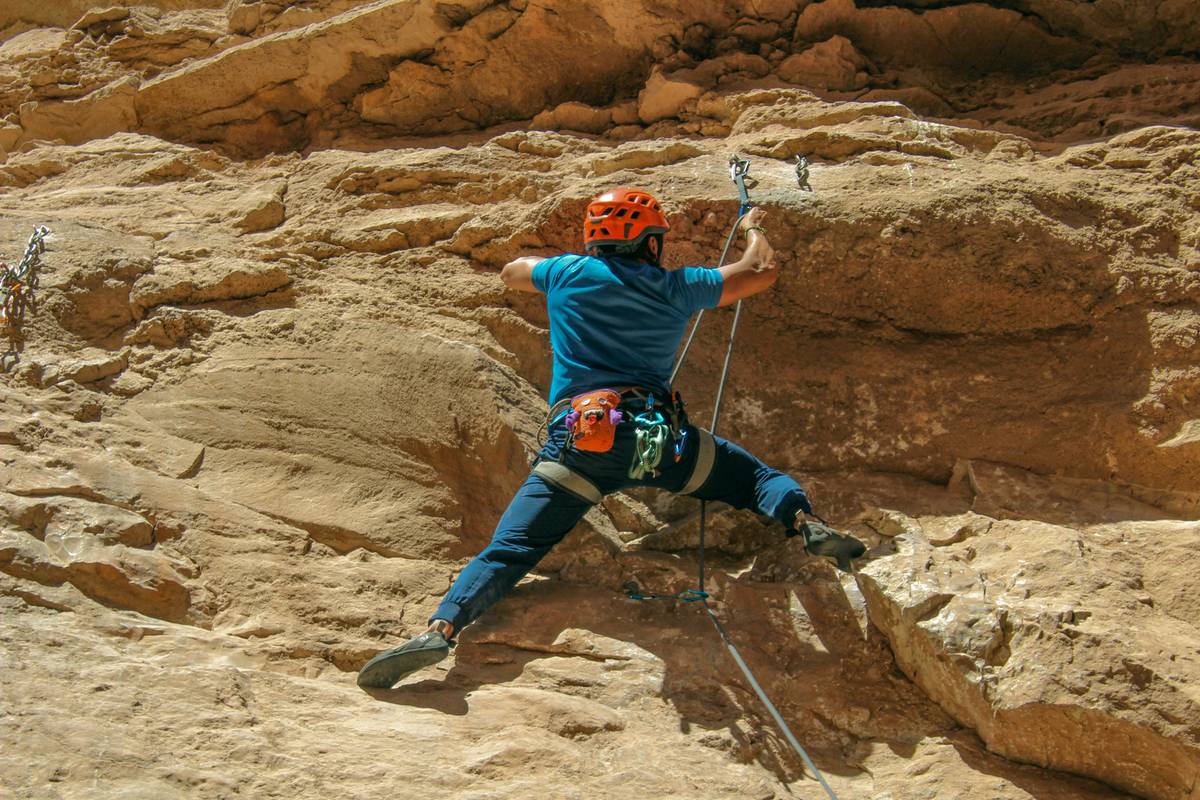
Ever placed a tricam only to watch it pop out the moment you weight it? You’re not alone. Even seasoned climbers have been humbled by these deceptively simple pieces of gear. Triple cam placement isn’t just about stuffing metal into rock—it’s a nuanced art that blends physics, geology, and real-world experience. In this guide, we’ll cut through the noise and deliver actionable, field-tested advice so you can place with confidence. Whether you’re tackling splitter cracks in Indian Creek or sketchy alpine chimneys, these seven proven strategies will help you avoid dangerous errors and climb smarter.
Table of Contents
- Why Triple Cam Placement Matters
- Step-by-Step Guide to Effective Placement
- Best Practices for Reliable Protection
- Real-World Case Studies
- Frequently Asked Questions
Key Takeaways
- Tricams rely on passive camming action—placement angle and rock quality are critical.
- Never assume a tricam is solid until tested with a gentle tug.
- Use your fingers, not just your eyes, to assess crack depth and constriction.
- Avoid placing tricams in parallel-sided or flared cracks—they need a narrowing.
- Practice placements on the ground before trusting them in lead situations.
Why Triple Cam Placement Matters
In adventure travel, especially off-the-beaten-path climbing zones, your gear is your lifeline. Unlike spring-loaded camming devices (SLCDs), tricams like the Wild Country Triple Cam function passively—they wedge through opposition and require precise orientation to hold. A poorly placed unit can shift under load, leading to total failure. According to a study cited by the American Canyoneering Association, improper passive protection accounts for nearly 18% of non-human-factor climbing incidents in traditional settings.
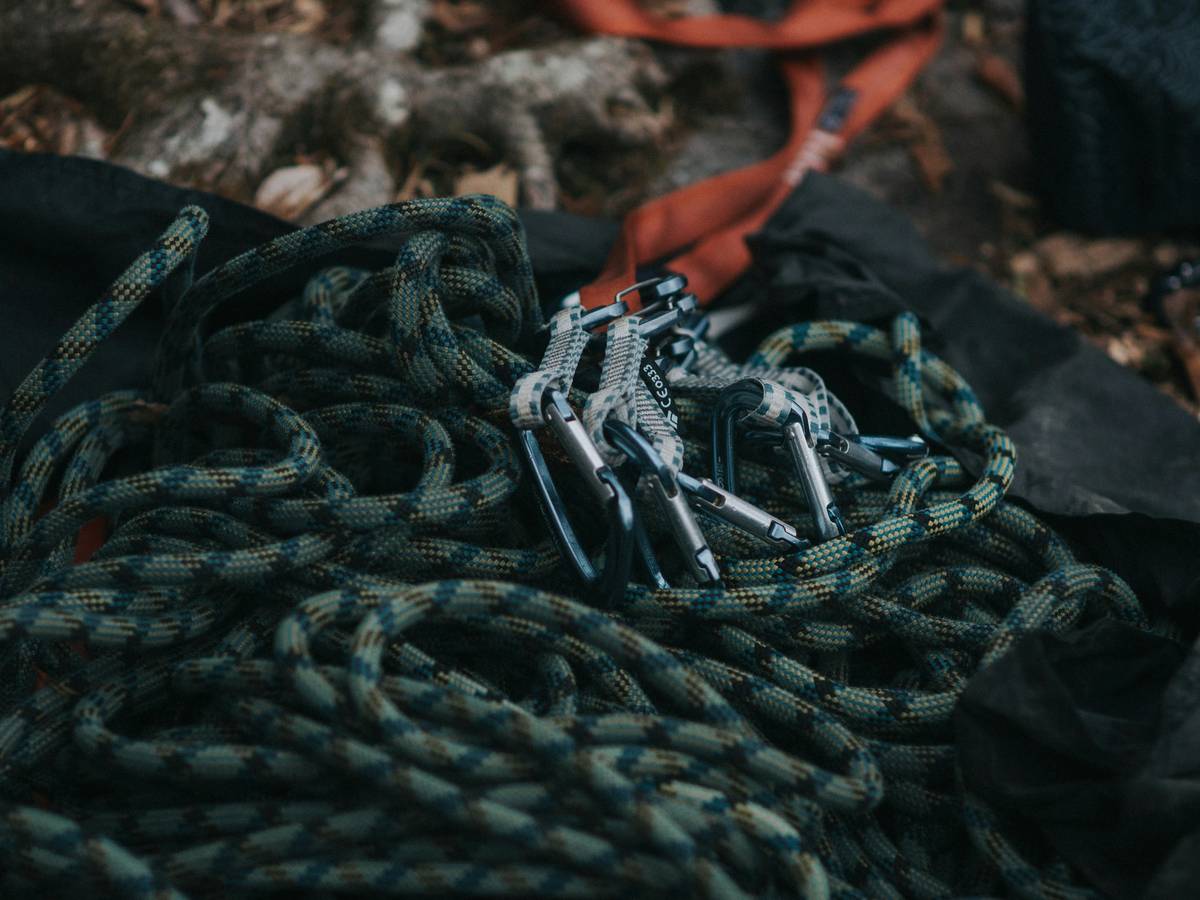
I learned this the hard way on a multi-pitch route in the Black Hills. Confident in a red tricam I’d wedged into what looked like a perfect pocket, I committed my weight—and heard the sickening clatter as it ejected 30 feet down the gully. Thankfully, my rope caught me on the next piece, but I lost $40 and gained a permanent respect for tactile verification. That moment taught me: seeing isn’t believing with tricams. You must feel the bite.
Step-by-Step Guide to Effective Placement
Assess the Crack Geometry
Look for constrictions—narrowing sections where the tricam’s head can oppose both walls. Ideal placements occur where the crack tapers inward slightly (5–15 degrees). Avoid parallel or outward-flaring cracks; they offer zero purchase.
Orient the Tricam Correctly
The webbing should exit downward in the direction of pull. If your fall would yank the piece upward, flip it so the stem points up. Misalignment is a common cause of “walking” or spinning out.
Set It with Intention
Don’t just drop it in. Use your fingers to seat the head deep into the constriction, then give a firm, controlled tug in the expected loading direction. If it moves more than a millimeter, reposition or choose another size.
Best Practices for Reliable Protection
- Test every placement: Even if it looks bomber, apply progressive tension before weighting it fully.
- Carry a full set: Sizes matter—having #0.5 through #3 ensures you’re never forcing an ill-fitting piece.
- Avoid limestone pockets with loose flakes: Tricams can pry fragile rock loose—opt for nuts or cams instead.
- Never clip directly to the sling: Always use a quickdraw to reduce leverage and prevent cross-loading.
And here’s a terrible tip you might hear at the crag: “Just jam it in hard—it’ll hold.” Wrong. Forceful hammering can deform the aluminum head or create micro-fractures in soft rock. Precision beats power every time.
Real-World Case Studies
On a guided ascent of The Diamond on Longs Peak, a professional guide from the American Mountain Guides Association (AMGA) relied heavily on tricams in shallow seams where cams wouldn’t fit. Over three days, his team placed 22 tricams—all held under leader falls—because each was seated in angled constrictions and verified with test pulls. Contrast that with an incident reported in Accidents in North American Climbing (2022), where a soloist fell 60 feet after a tricam pulled from a parallel-sided crack. The difference? One understood geometry; the other trusted appearance.
At Minnehonk Lake, we prioritize gear integrity and climber education. Learn more about our philosophy on safety and experience on our About Us page.
Frequently Asked Questions
Are triple cams better than nuts?
They serve different purposes. Nuts excel in straight-in cracks; tricams shine in irregular pockets, pin scars, or horizontal breaks where opposition can be generated.
How do I clean a stuck tricam?
Use a nut tool to rotate the head while applying outward pressure. Never yank blindly—this can damage the placement or your rope.
Can I use triple cams in ice or mixed terrain?
No. They’re designed for rock. Ice requires specialized protection like screws or v-thread anchors.
What’s the most common Triple Cam Placement Tips mistake?
Placing them in cracks without constriction. Remember: no taper = no hold.
Do tricams work in soft sandstone?
Rarely. Sandstone often lacks the compressive strength to support passive camming without crumbling. Use caution and test extremely gently.
Where can I get hands-on practice?
Many climbing gyms with crack features allow tricam drills. For real-rock practice, visit areas like Vedauwoo or City of Rocks—and always inspect local regulations. Have more questions? Reach out via our Contact Us page.
We take your privacy seriously during any data exchange—review our full policy at Privacy Policy.
Mastering Triple Cam Placement Tips isn’t about memorizing rules—it’s about developing a tactile intuition for rock and gear. Place thoughtfully, test relentlessly, and never let ego override caution. After all, the best protection isn’t the shiniest piece on your rack—it’s the one that holds when it counts.