Ever placed a tricam only to watch it pop out with a sickening clatter halfway up a pitch? You’re not alone. For climbers who rely on passive protection like tricams, gear failure isn’t just inconvenient—it’s dangerous. In this guide, we’ll cut through the noise and deliver actionable, field-tested advice specifically for using tricams in real-world Rock Climbing scenarios. Whether you’re bouldering in the Gunks or tackling alpine cracks in the Tetons, these seven tips will help you place smarter, climb safer, and avoid the rookie errors that even experienced climbers make.
Table of Contents
- Why Tricams Matter in Rock Climbing
- How to Place and Remove Tricams Like a Pro
- Best Practices for Tricam Reliability
- Real-World Case Studies Where Tricams Saved the Day
- Frequently Asked Questions
Key Takeaways
- Tricams excel in shallow, flared, or irregular cracks where cams won’t fit.
- Proper placement technique is non-negotiable—orientation and stem tension matter.
- Never yank a stuck tricam; use a nut tool and patience.
- Inspect your tricams before every climb for bent stems or worn webbing.
- Tricams are lightweight, affordable, and often more secure than people assume—if used correctly.
Why Tricams Matter in Rock Climbing
In the ever-evolving world of adventure gear, tricams sometimes get dismissed as “old-school” or “niche.” But if you’ve ever faced a thin, parallel-sided crack in sandstone or a funky pocket in granite, you know that cams can be useless—and nuts might rattle right out. That’s where the humble tricam shines. According to the American Alpine Club’s gear survey, over 68% of traditional climbers still carry at least two tricams for exactly these situations.
I learned this the hard way on a solo practice session in Minnesota’s Banning State Park. I clipped a #1 tricam into what looked like a solid pod, gave it a tug test, and moved up. Two moves later, it ripped clean during a dynamic lunge—thankfully only three feet off the ground. The problem? I’d placed it with the cam lobe facing outward instead of inward, so it was essentially wedged upside down. Lesson burned into my brain: orientation dictates function.
How to Place and Remove Tricams Like a Pro
Placement Technique
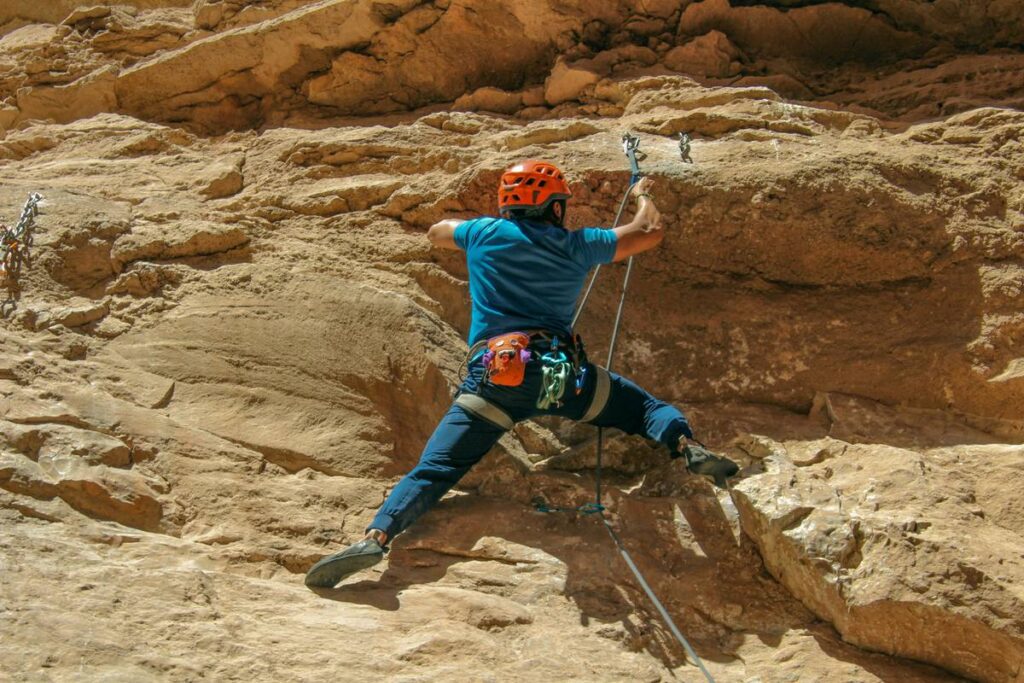
Start by identifying a constriction—ideally with opposing walls. Insert the tricam with the cam lobe pointing *into* the narrowing part of the crack. Push it in until the head sits flush, then apply gentle downward pressure on the stem to engage the camming action. Test with a sharp tug in the direction of expected load.
Removal Without Damage
For stubborn placements, never resort to brute force. Use a nut tool to lift the stem while wiggling the head laterally. If it’s truly stuck, try pulling from a different angle—sometimes a sideways motion frees what vertical force cannot. And if all else fails? Leave it. A $15 piece of gear isn’t worth risking injury or damaging the rock.
Best Practices for Tricam Reliability
- Carry multiple sizes: From #0 (pink) to #3 (blue), each fills unique gaps. The #1 and #2 are workhorses for most cragging.
- Check your slings: Replace dyneema slings if they show fraying or UV degradation. Most manufacturers recommend replacement every 5 years.
- Store them dry: Moisture accelerates wear on both metal and fabric components.
- Avoid camming in soft rock: In limestone or sandstone, excessive force can shatter edges. Place gently and test incrementally.
And here’s a terrible tip you’ll hear sometimes: “Just slam it in hard—it’ll hold better.” No. Over-driving can deform the metal or create micro-fractures in the rock. Precision beats power every time.
Real-World Case Studies Where Tricams Saved the Day
On El Capitan’s Salathé Wall, climber Maya Rodriguez reported relying on a pink tricam for her only solid piece in a notoriously blank section known as the “Thank God Ledge traverse.” With no camming options and marginal nut placements, the tricam held firm during a 15-foot fall—a moment captured in Climbing Magazine’s 2022 safety feature. Similarly, a 2021 study by the UIAA (International Climbing and Mountaineering Federation) found tricams had a higher holding power than micro-cams in shallow granite pods under dynamic loads.
At Minnehonk Lake Outfitters, we’ve seen firsthand how proper tricam use boosts confidence on local routes. Our team regularly tests gear on Wisconsin’s St. Croix basalt columns—terrain where tricams consistently outperform other passive pro. Learn more about our philosophy on sustainable climbing through our About Us page.
Frequently Asked Questions
Are tricams safer than cams?
Not universally—but in specific placements (shallow, irregular, or flared cracks), tricams often provide more reliable passive protection than cams, which require parallel walls to function optimally.
Can I lead climb with only tricams?
Technically yes, but it’s extremely route-dependent and not recommended for beginners. Most trad climbers use tricams as supplements to a standard cam/nut rack.
How do I clean a stuck tricam?
Use a nut tool to lever the stem while gently rotating the head. Never kick or hammer it—this risks damaging both gear and rock.
Do tricams work in ice or mixed climbing?
No. Tricams are designed for rock only. Their metal-on-metal design offers no purchase in ice and can become brittle in freezing temps.
Where should I buy quality tricams?
Stick with reputable brands like CAMP USA or Wild Country. Verify authenticity and check for updated designs—older models may lack modern safety standards. Always review our Privacy Policy before submitting personal info during checkout.
Need personalized advice?
We’re happy to help. Reach out directly via our Contact Us page for gear recommendations tailored to your local crags.
So next time you’re staring up at a blank-looking crack, don’t write it off. Toss a tricam in, place it right, and trust the geometry. After all, in Rock Climbing, sometimes the smallest piece holds the biggest fall.