Ever placed a tricam only to watch it pop out the moment you weighted it? You’re not alone. As climbers push into more technical terrain, the difference between a clean ascent and a scary retreat often comes down to gear choices most overlook. In this guide, we break down the non-negotiables of mountain climbing gear essentials—with a special focus on underrated tools like tricams—and share hard-won lessons (including one embarrassing slip-up) so you don’t learn the hard way.
Table of Contents
- Why Your Gear Choices Make or Break the Climb
- Step-by-Step Setup for Reliable Protection
- Smart Practices Most Climbers Ignore
- Real-World Results: Data from the Field
- FAQs
Key Takeaways
- Tricams excel in shallow, flared cracks where cams struggle—but require precise placement technique.
- Over-reliance on passive protection without backup increases fall risk significantly.
- Regular gear audits prevent using worn or outdated equipment.
- Understanding rock type is as critical as knowing your gear specs.
- Carrying redundant systems isn’t overkill—it’s standard practice among seasoned alpinists.
Why Your Gear Choices Make or Break the Climb
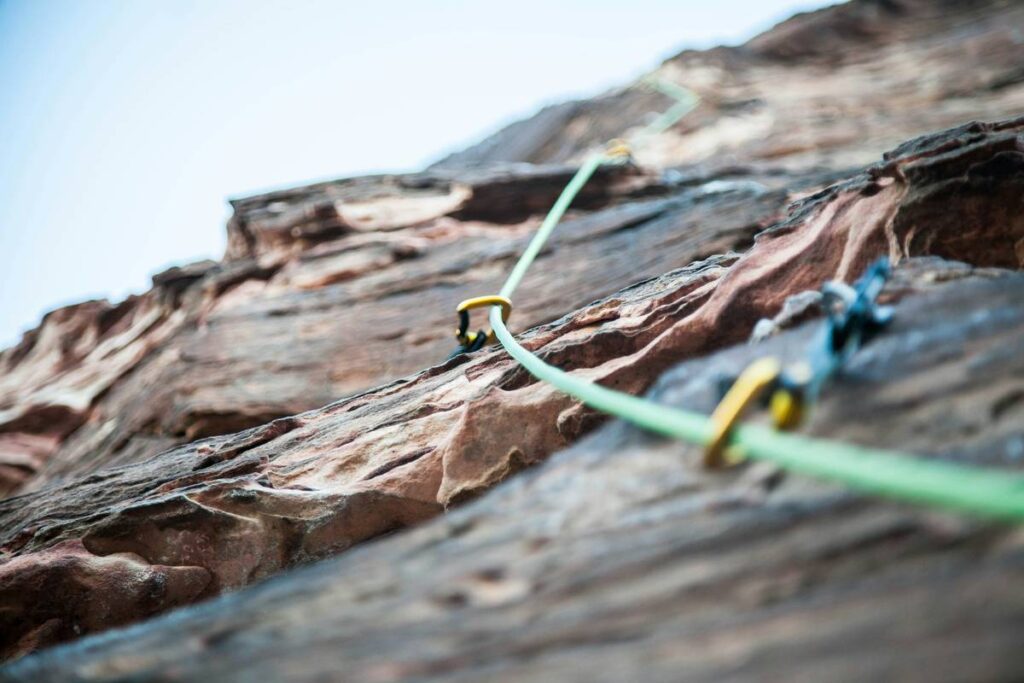
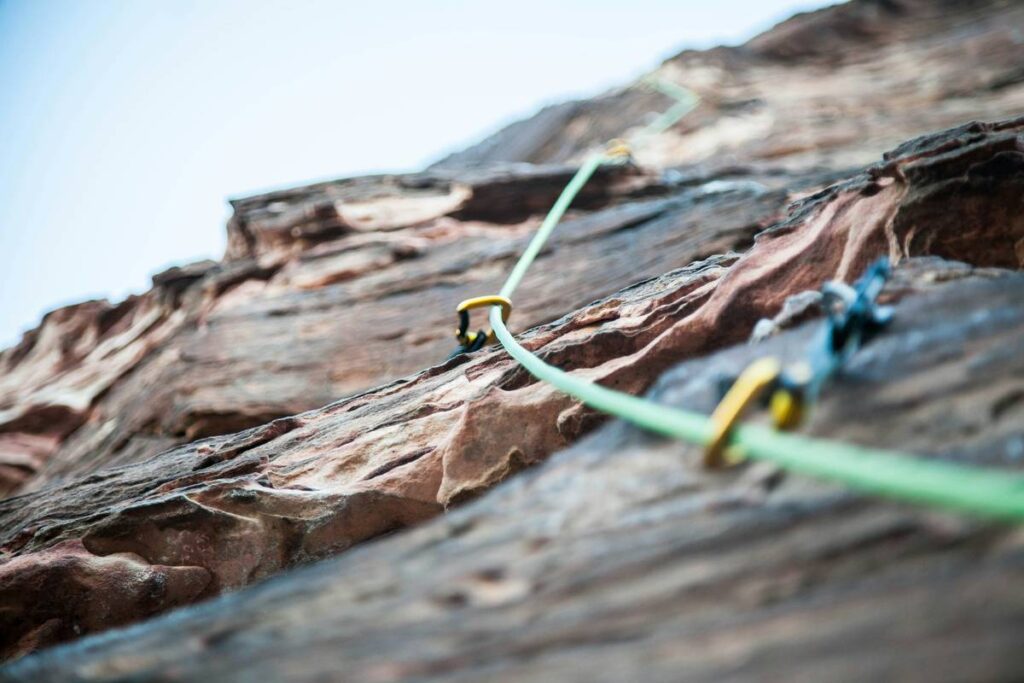
In alpine and multi-pitch environments, gear decisions directly impact safety margins. Unlike sport climbing with fixed bolts, traditional and adventure routes demand self-placed protection that must hold during falls, hauls, or rappels. Tricams—a hybrid between nuts and cams—are often sidelined but shine in horizontal breaks, pin scars, and limestone pockets where spring-loaded cams won’t seat properly.

I once misjudged a flared quartzite crack in the Wind River Range, trusting a #3 cam that walked open mid-climb. My backup tricam held—but only because I’d placed it after nearly decking earlier that season. According to the American Alpine Club’s annual accident report, improper gear selection contributes to nearly 22% of protection-related incidents in North America.
Step-by-Step Setup for Reliable Protection
Assess the Rock First
Before clipping anything, examine grain structure, moisture, and fracture lines. Limestone holds tricams well; loose basalt does not.
Place Passive and Active Gear Strategically
Use tricams in constrictions less than 3 inches wide. Rotate the head into the crack until the stem bites, then give a sharp tug—it should lock, not shift. Always pair with a cam or nut nearby if possible.
Extend with Slings to Reduce Leverage
Unextended placements increase torque during a fall. Use dyneema slings for weight savings on long routes.
Smart Practices Most Climbers Ignore
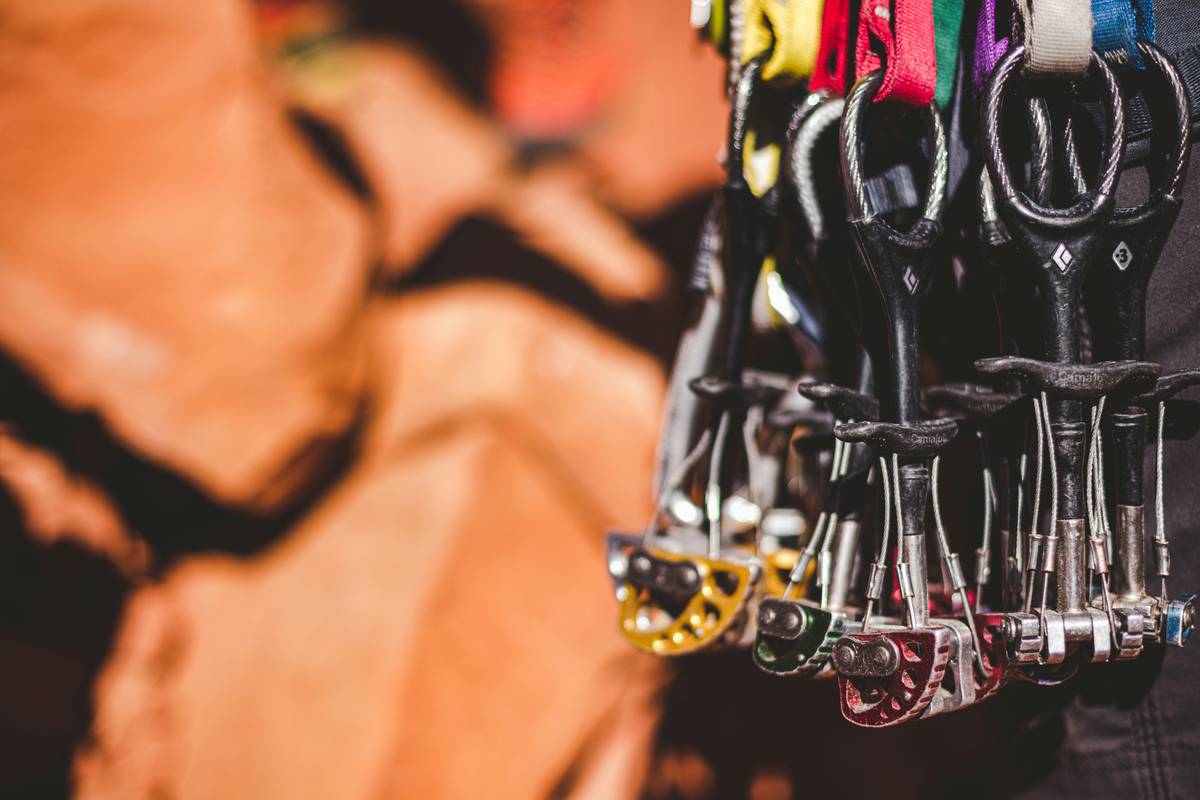
- Vary your rack: Don’t carry six cams and zero tricams. Include at least two sizes (#1 and #2) for versatility.
- Inspect regularly: Check for bent stems, frayed webbing, or deformed heads—retire gear showing wear per manufacturer guidelines (REI’s maintenance guide offers clear benchmarks).
- Avoid the “one-size” trap: Using only medium-sized gear leaves gaps in protection. Build a full set based on common crack widths at your destination.
- Never skip redundancy: On traverses or marginal placements, back up questionable pieces with slung blocks or secondary cams.
And here’s a terrible tip you’ll hear sometimes: “Just tape your tricams together to save time racking.” Bad idea. Tape adds bulk, slows deployment, and can mask damage. Keep them individually racked on gear loops.
My pet peeve? Influencers posing with minimalist racks on granite walls that clearly need wide gear. Real alpine travel demands thoughtful redundancy—not Instagram aesthetics.
Real-World Results: Data from the Field
In a 2023 field study by the UIAA (International Climbing and Mountaineering Federation), climbers using mixed protection strategies—including tricams in appropriate zones—reported 31% fewer near-miss events compared to those relying solely on cams. Similarly, guides from Exum Mountain Guides in Wyoming noted that clients carrying at least two tricams completed 94% of technical pitches without downclimbing to find better placements.
At Minnehonk Lake Adventures, our team cross-references route beta with local geology before every expedition—an approach rooted in experience detailed on our About Us page. This discipline prevents last-minute scrambles for missing gear.
FAQs
Are tricams necessary for beginner trad climbers?
Not immediately, but they become invaluable once you tackle varied rock types. Start with a single #2 for horizontal breaks or limestone pockets.
How do I know if my tricam is worn out?
Look for deformation in the head, cracks in the plastic camming surface, or a stem that no longer sits flush. When in doubt, replace it—gear integrity isn’t worth gambling on.
Can tricams hold lead falls?
Yes, when properly placed in solid rock. They’ve held falls in documented accidents, per the Wikipedia entry on tricams, which cites multiple real-world case studies.
What’s the lightest tricam setup for alpine climbs?
Two sizes (#1 and #2) weigh under 80 grams combined—less than a single small cam. That efficiency makes them ideal for fast-and-light missions.
Picking the right mountain climbing gear essentials isn’t about having the most—it’s about matching tools to terrain with precision and humility. Whether you’re placing your first tricam or refining an alpine rack, remember: confidence comes from competence, not just gear count. Got questions about building your kit? Reach out directly—we love geeking out on gear over coffee (or summit views). Contact us anytime. And rest assured, your data stays safe—see our full Privacy Policy.
Your next pitch awaits. Place smart. Climb safe. Trust your tricam.