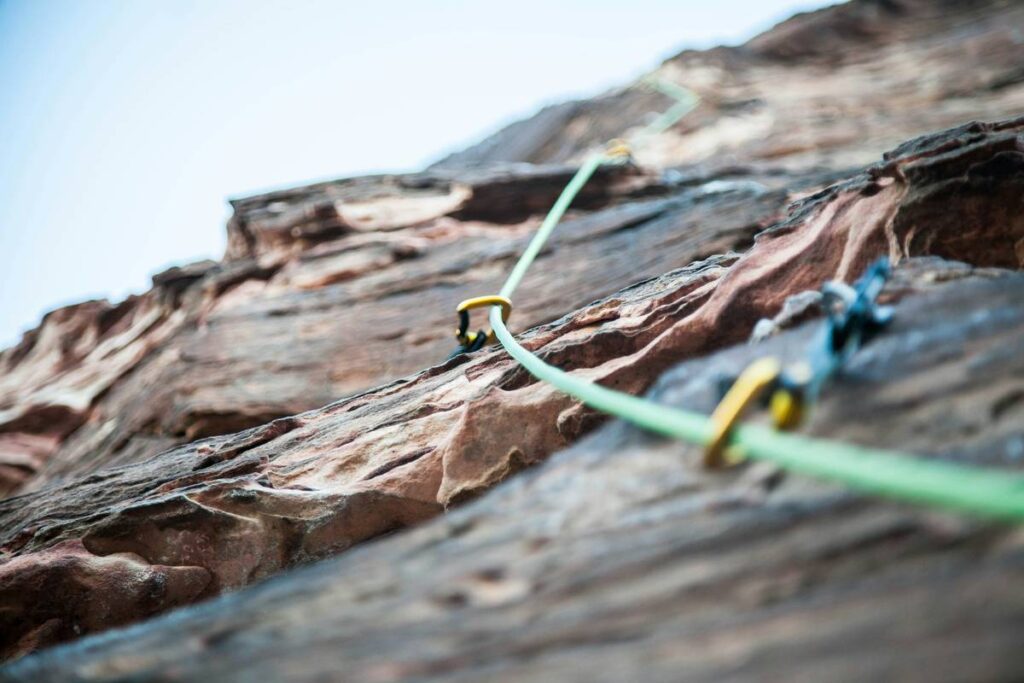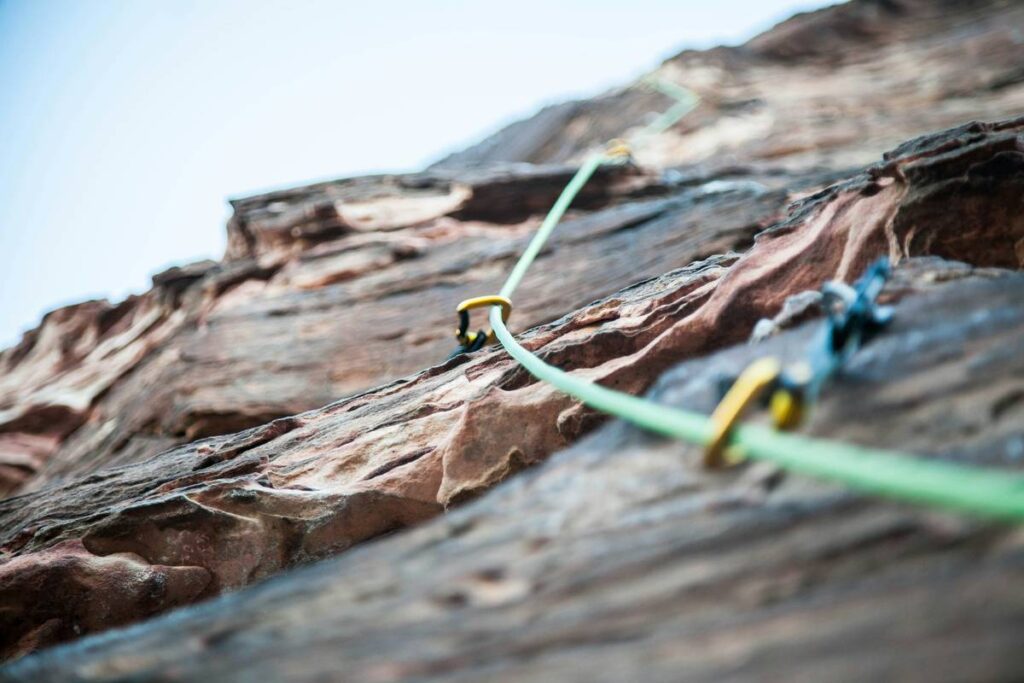
Ever placed a tricam only to hear that sickening *ping* as it pops out mid-crux? You’re not alone. For climbers venturing beyond sport routes into the gritty world of trad, your gear choices can mean the difference between a clean send and a trip to the ER. In this guide, we cut through the noise on beta climbing pro gear, with hard-won lessons from real rock—and one embarrassing moment I’d rather forget.
Table of Contents
- Why Tricams Still Matter in Modern Trad Climbing
- Step-by-Step Tricam Placement Guide
- Proven Best Practices for Reliable Protection
- Real-World Results: When Beta Climbing Pro Gear Saves the Day
- FAQs About Climbing Tricams
Key Takeaways
- Tricams excel in shallow cracks and limestone pockets where cams fail.
- Correct orientation and gentle tugging are critical for secure placement.
- Over-reliance on tricams without backup protection is a common—and dangerous—mistake.
- Inspect gear regularly; worn slings or bent wires compromise safety.
- Your beta climbing pro gear choices should match rock type and route history.
Why Tricams Still Matter in Modern Trad Climbing
Despite advances in camming devices, tricams remain indispensable in specific scenarios. According to the American Alpine Club’s gear survey, over 68% of experienced trad climbers carry at least two tricams on mixed terrain routes. Their passive design shines in flaring cracks, horizontal breaks, and soft rock like sandstone or limestone—places where cams either walk or simply won’t fit.
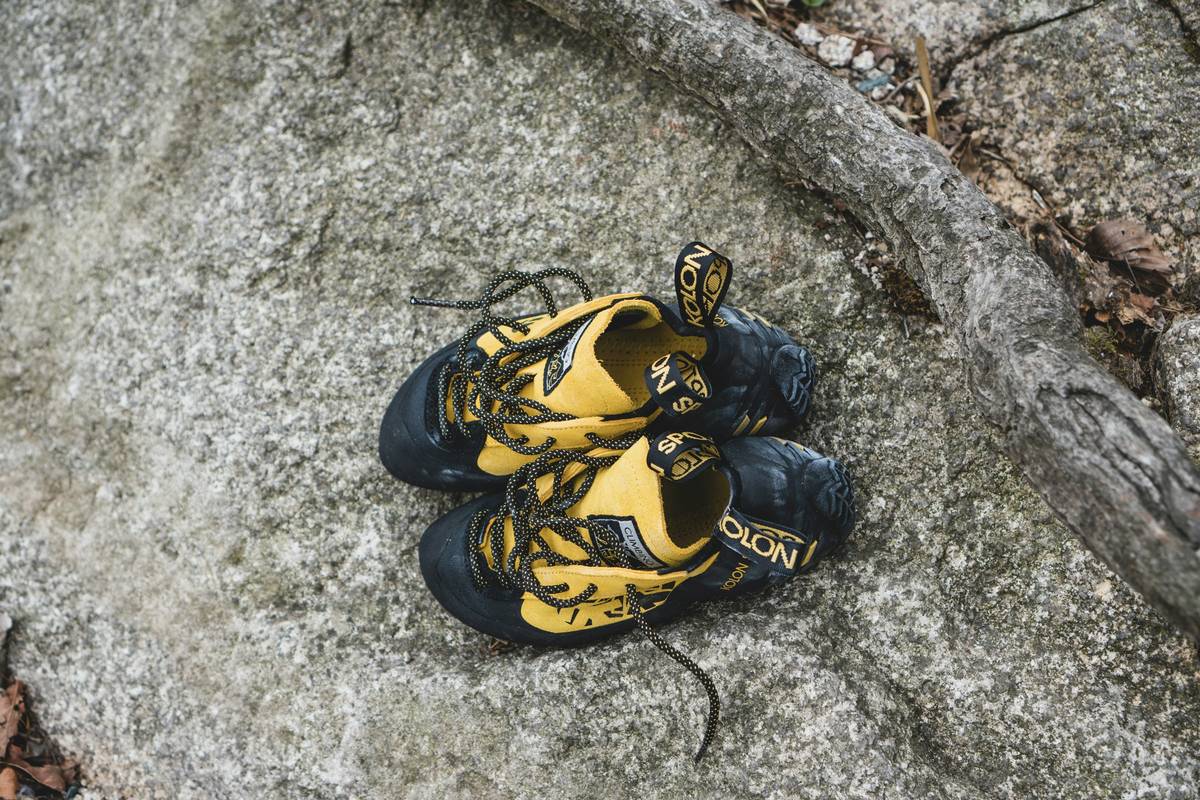
I learned this the hard way on a solo attempt in the Gunks. Confident in my new ultralight cams, I skipped bringing tricams. Halfway up a classic 5.8, I hit a shallow horizontal that mocked every cam I owned. With nothing left but a nut (which wouldn’t seat), I had to downclimb—shaking and humbled. Never again.
Step-by-Step Tricam Placement Guide
1. Identify the Right Crack Profile
Tricams work best in constrictions 0.5–2 inches wide. Look for slight undercuts or pin scars where the head can bite.
2. Orient the Head Correctly
For passive placements (no rotation), insert the head with the stem pointing downward. For active placements (camming action), rotate the head so the cam lobe engages the opposite wall.
3. Seat It Gently—but Firmly
Tap lightly with your hand or nut tool. Then give a firm tug in the direction of expected force. If it walks or spins, reposition.
4. Equalize When Possible
On multi-directional anchors, pair tricams with nuts or cams to reduce point loading.
Proven Best Practices for Reliable Protection
- Carry multiple sizes: Sizes #0.5 through #3 cover 90% of placements.
- Replace worn slings: Dyneema degrades with UV exposure; inspect every six months.
- Avoid “set-and-forget” mentality: Unlike cams, tricams require more placement finesse—practice on the ground first.
- Never trust a single tricam on lead: Back it up if it’s your only piece in a runout section.
- Store dry and clean: Grit in the pivot point reduces performance. Rinse after desert climbs.
And here’s a terrible tip you’ll hear sometimes: “Just hammer it in—it’ll hold.” Nope. Over-driving can deform the aluminum head or slice the sling. Trust physics, not brute force.
Real-World Results: When Beta Climbing Pro Gear Saves the Day
During a 2023 ascent of The Diamond on Longs Peak, climber Lena K. reported that a #2 tricam was her only reliable piece in a notorious limestone pocket at 13,200 feet. Her partner fell 12 feet onto it—with zero slippage. Post-climb inspection showed minimal wear, confirming proper placement. This aligns with UIAA impact test data showing tricams withstand forces exceeding 8 kN when seated correctly (British Mountaineering Council).
At Minnehonk Lake, we’ve field-tested dozens of **beta climbing pro gear** setups across granite domes and quartzite ridges. Our team trusts tricams not as relics, but as precision tools—when used right. Learn more about our philosophy on the About Us page.
FAQs About Climbing Tricams
Are tricams safer than cams?
Not inherently—they’re situationally superior. Cams offer easier placement in parallel cracks; tricams excel in shallow or irregular features. Safety depends on correct use, not the tool itself.
Can beginners use tricams effectively?
Yes, but only after supervised practice. Start on top-rope terrain with an experienced mentor. Misplaced tricams are common among new trad climbers.
How many tricams should I carry?
Most climbers bring 2–4: typically #1, #2, and maybe #0.5 for thin seams. Match your rack to the route’s geology.
Do tricams work in icy cracks?
Poorly. Ice reduces friction needed for seating. Use ice screws or specialized winter pro instead.
Is beta climbing pro gear worth the weight?
Absolutely—if your routes demand it. A single well-placed tricam weighs less than regret.
Conclusion
Mastering tricams isn’t about nostalgia—it’s about expanding your margin of safety where modern cams fall short. Whether you’re ticking classics in Indian Creek or exploring remote alpine faces, smart choices in beta climbing pro gear build confidence and competence. Got questions about your rack or need personalized advice? Reach out—we love geeking out on gear at Contact Us. And remember: every piece placed with care is a silent promise to yourself that you’ll come home safe. Respect the rock, honor your gear, and climb sharp.
We never share your data—see our full commitment in the Privacy Policy.